Cloud Phone Operation Guide
Cloud Phone Operation Guide
On the web page, we provide a set of floating toolbars (Floating Toolbar) to assist operations. The following is a description of common functions:
| icon | Function name | Function description |
|---|---|---|
 |
Home | Return to the cloud phone Android desktop with one click. |
 |
Back | Simulates the physical return key of an Android phone. |
 |
Recent (multitasking) | View applications running in the background to facilitate switching or cleaning processes. |
 |
Rotate | Force switching between landscape/portrait display. |
 |
File Upload | Move the APK in the cloud disk Upload files or pictures to the cloud phone for installation or saving. |
 |
Full Screen | The cloud phone is displayed in full screen. |
 |
Volume | Turn up the volume on your device. |
 |
Volume | Turn down the volume on your device. |
 |
More | Use more functions of cloud phone |
Application installation guide:
You can choose the following two ways to install the app:
Method 1: Application Market:The cloud phone has a built-in application market, and you can search and download directly.
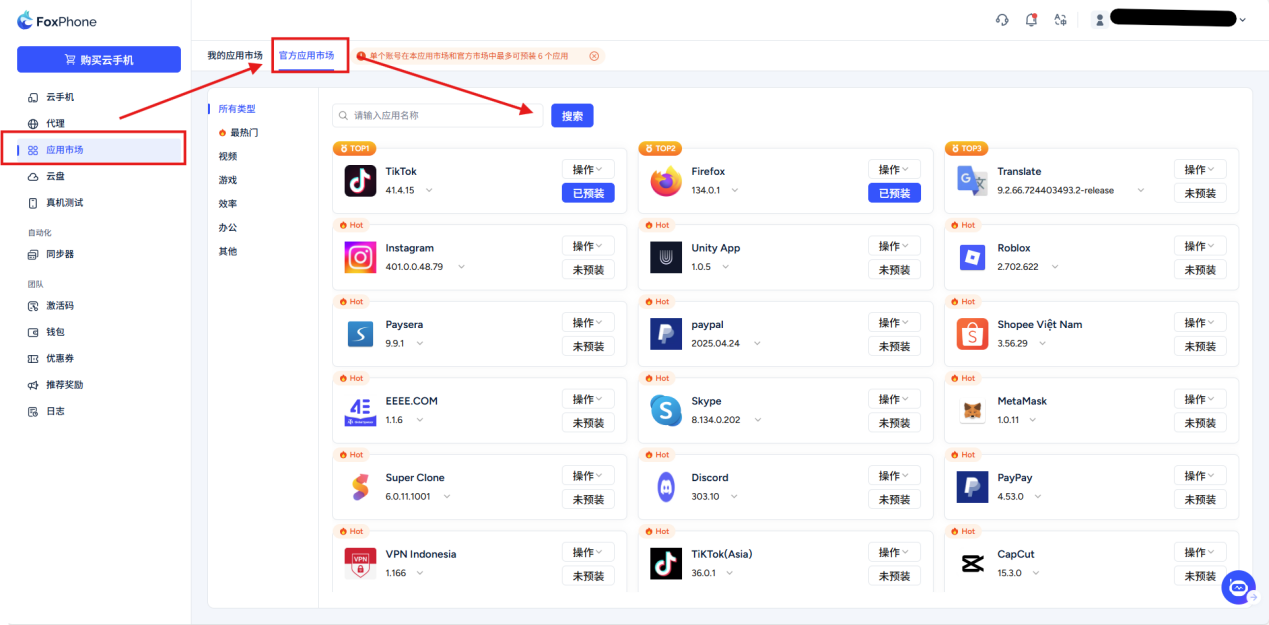
Every software can click [operate] Drop-down button for batch operations: install/uninstall/start/restart and other operations in batches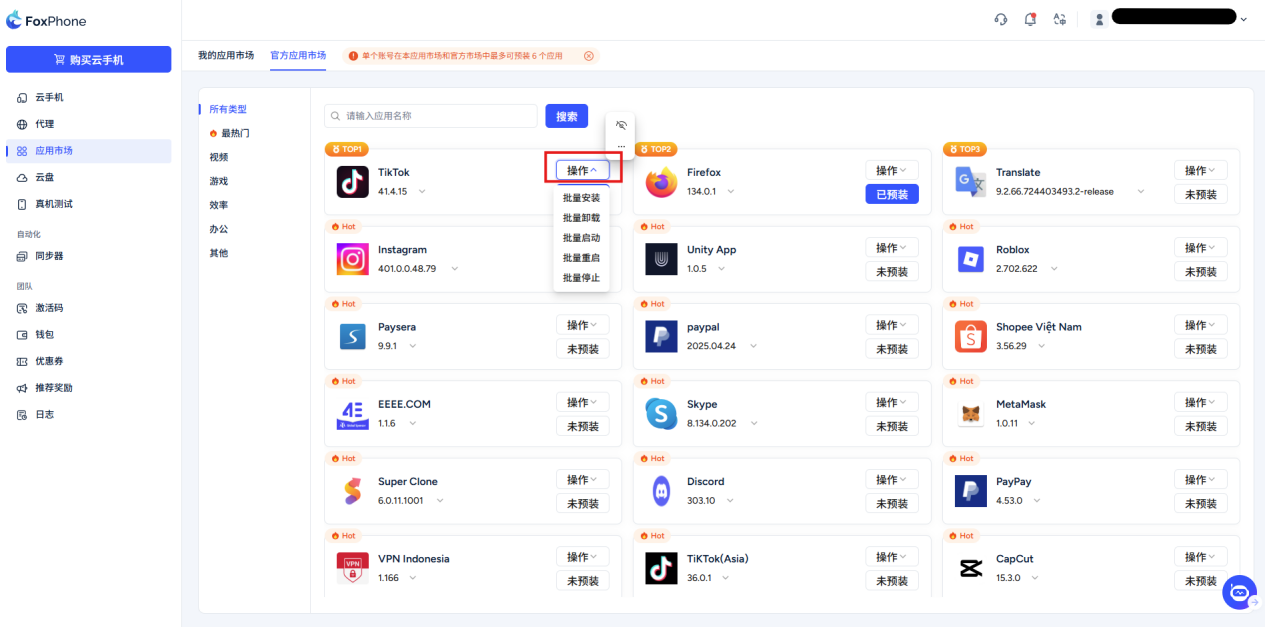
[Pre-installed]Button: "Pre-installed" is for you"Installation Assistant". When you turn on a brand new cloud phone, it's usually empty. Through the "Preinstall" button, the system will automatically deploy the basic environment and commonly used software packages in the cloud for you.
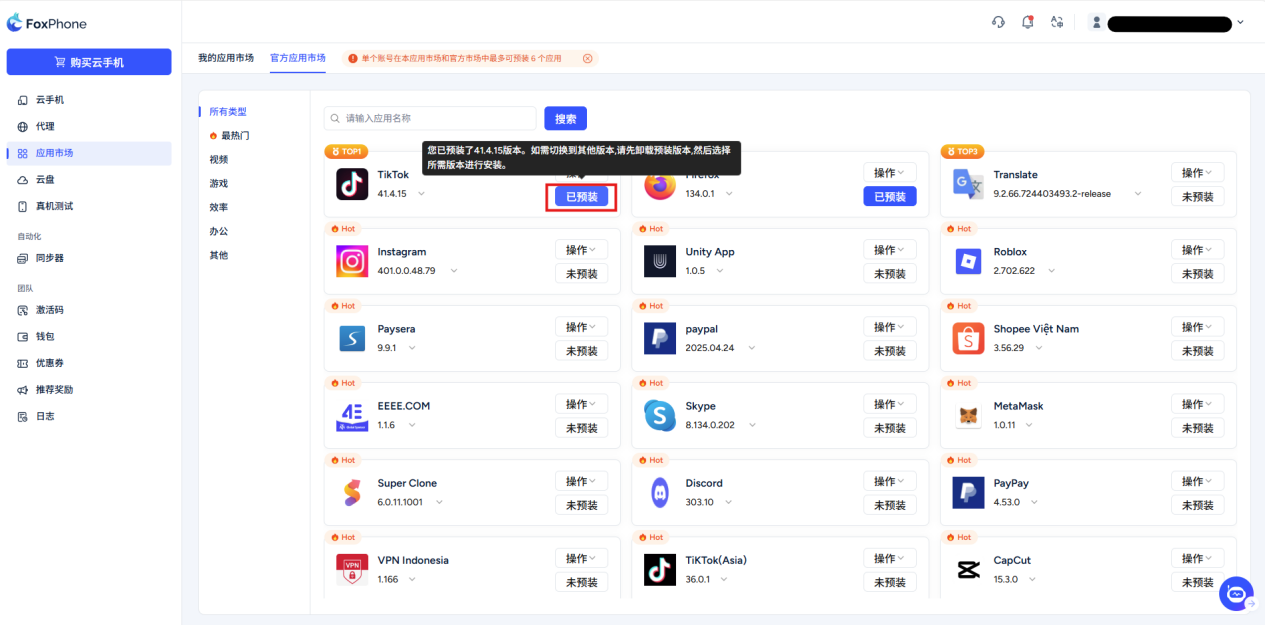
Click Preinstall to preinstall the application on your cloud phone. After the preinstallation is completed, the application will be automatically installed when the newly purchased cloud phone is started for the first time.
For pre-installed applications, if you want to cancel the pre-installation, click the [Pre-installed] button again to cancel.
Note: A single account can pre-install up to 6 applications in this application market and the official market.
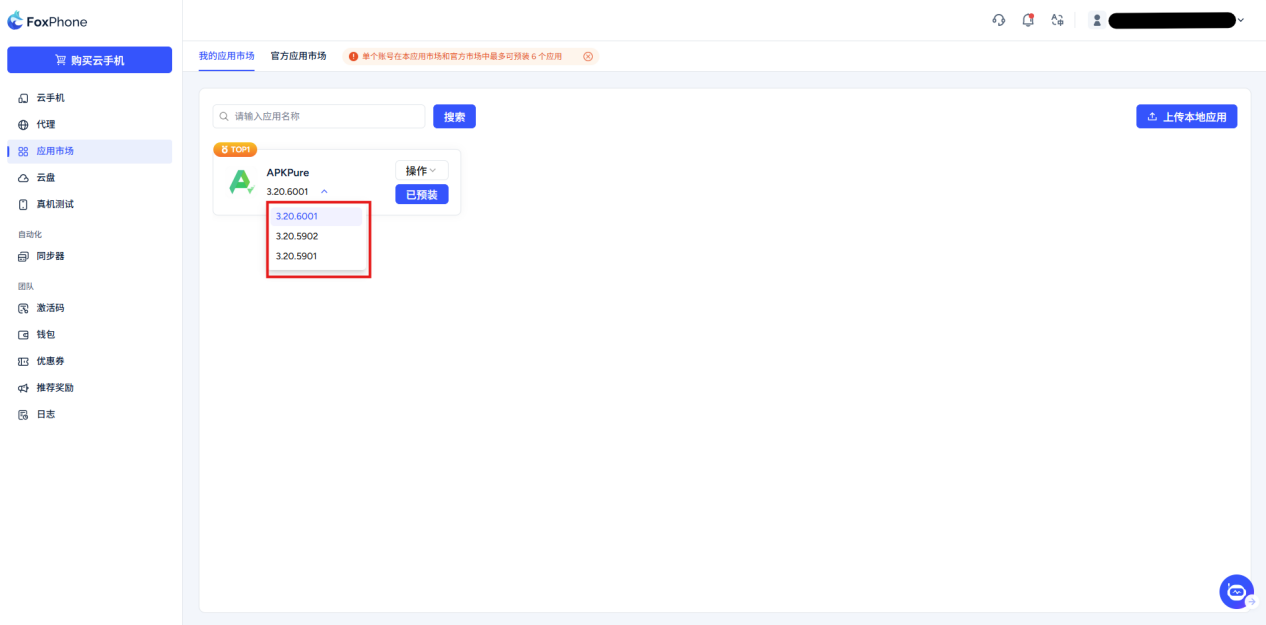
Method 2: Local upload: Still in the app market interface>select my app market Click on the toolbar [Upload local application] button, select the .apk file on your computer, and the system will automatically install it.
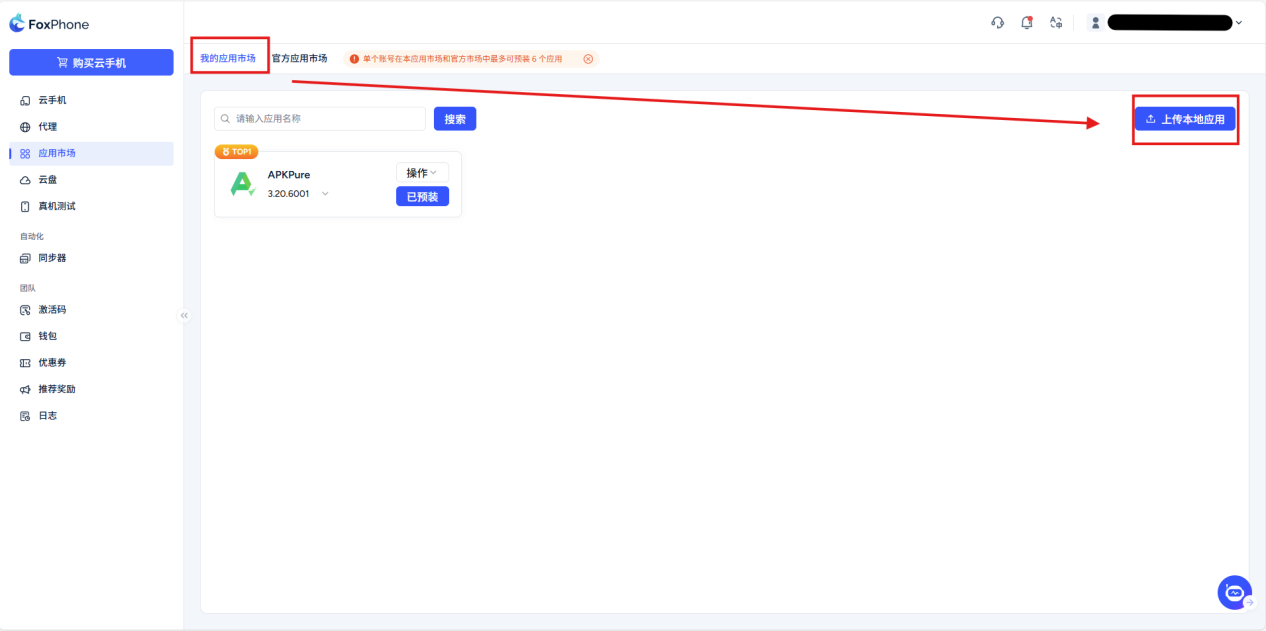
If you upload multiple installation packages of the same but different versions when uploading the installation package file, click the version number and a drop-down group will appear to select the software version you need.
Group control system
Manage and operate multiple cloud phones at the same time through a unified central console.
One machine operation, multiple machines synchronized.
Operation steps:
Step1:Returns the console device list.
Step2:Click on the left navigation bar [synchronizer] or above the cloud phone device list [Group control] button.
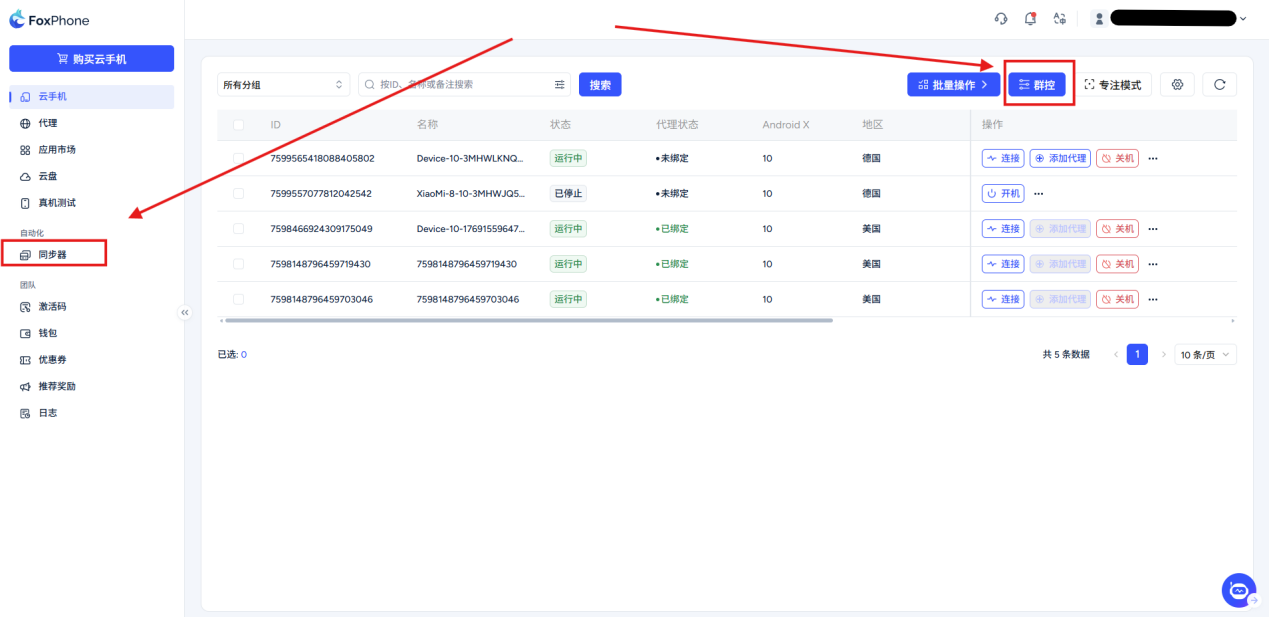
Click any button of [Synchronizer][Group Control],The system will immediately enter the group control interface
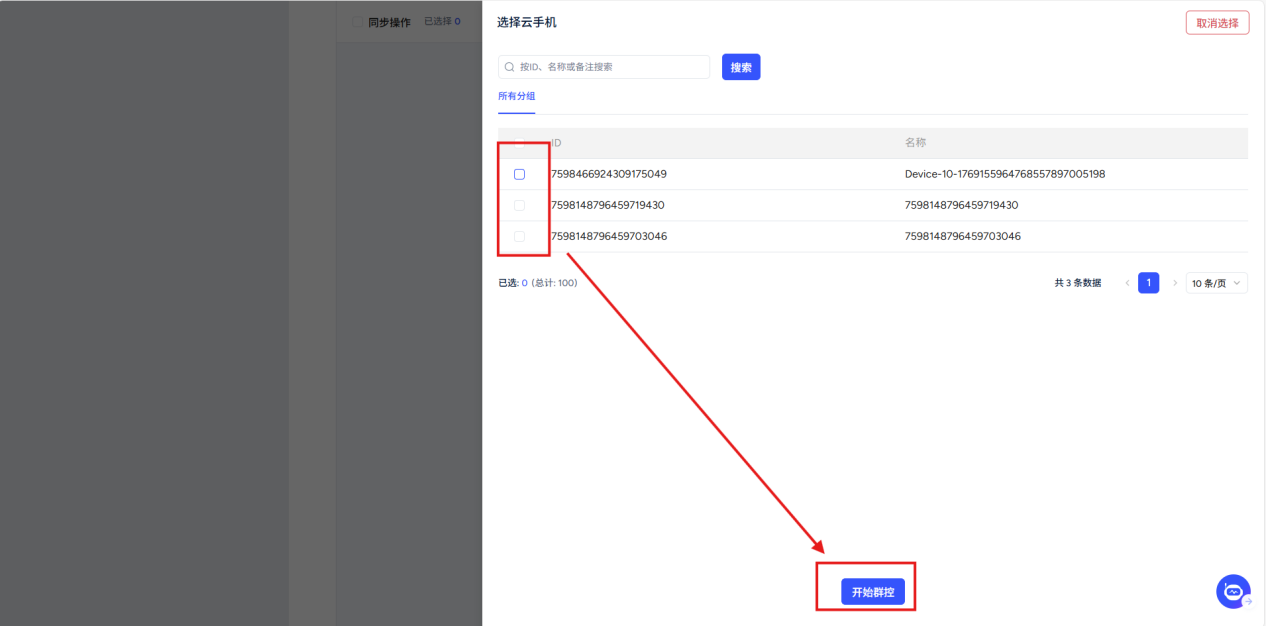
You can select the mobile phone you want group control here. After completing the selection, you can enter the group control.
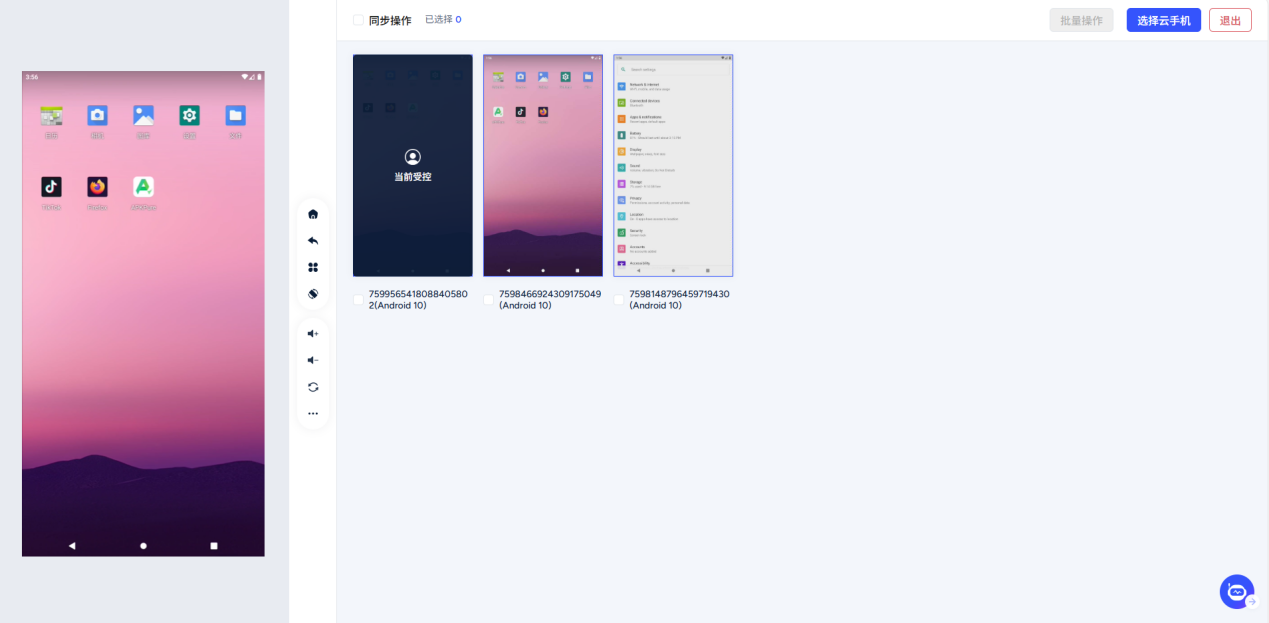
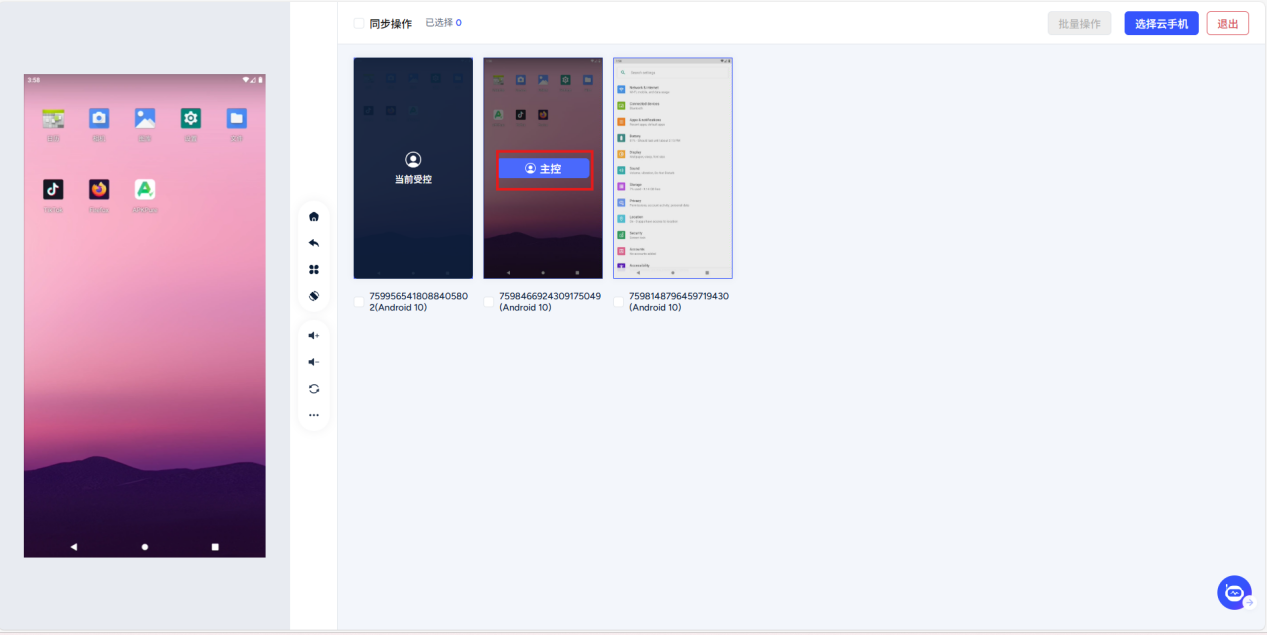
Interface description: The left area is the main control window, and the right window displays the real-time images of all selected cloud phones.
Select the host computer : The main control computer is the device that you will directly operate and send instructions to. When controlling the machine in the real-time screen, the screen will display the words "Current Controlled".
Step3: In the device list, find the device you want to use as the master control, move the mouse to the phone, and a [master control] button, click the button with the left mouse button.
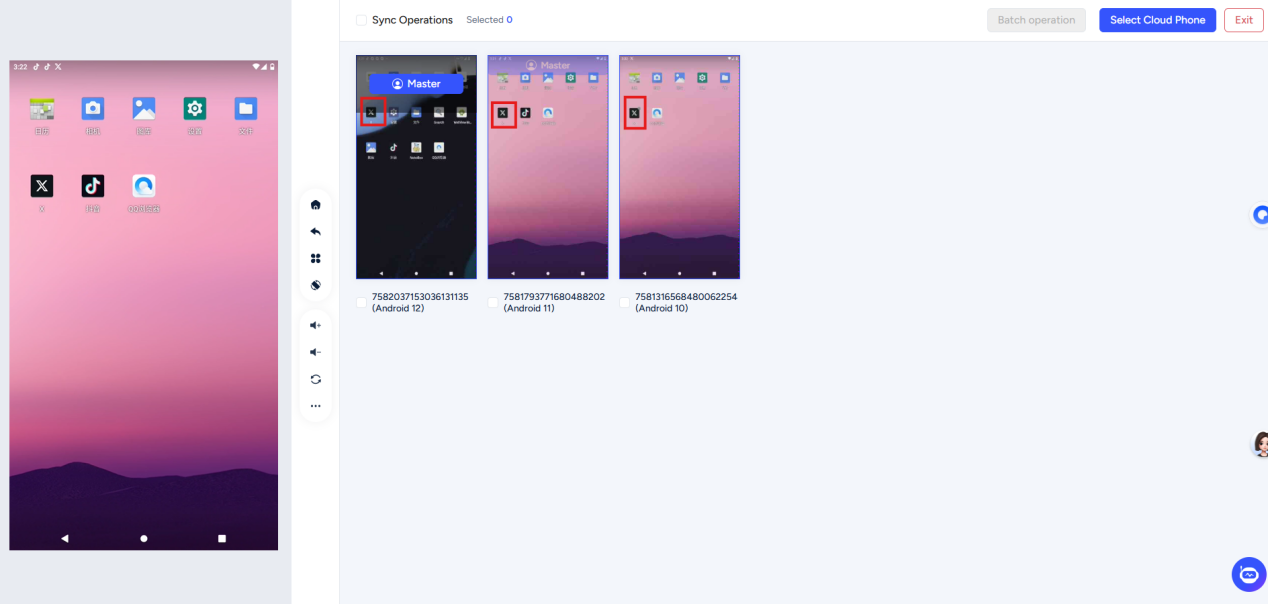
Operate the main control computer in the main control window on the left: You now only need to click, slide, enter text and other operations on the main control computer screen just like operating an ordinary mobile phone. You will see in real time that all controlled machines perform exactly the same actions as the master machine at almost the same time.
Note: When you need a group control APP, be sure toAll controlled deviceshave installed the APP, and the APPSame location,As shown in the figure: (take "X" as an example)
Other functions
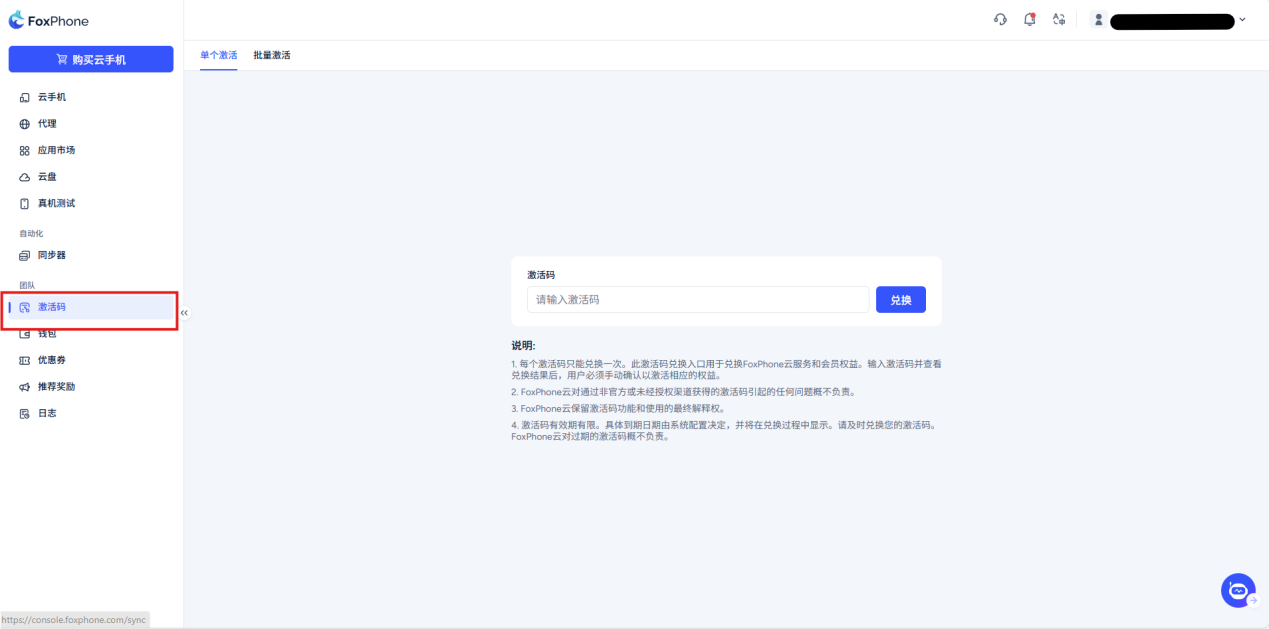
Activation code: You can choose single activation or batch activation
You can get some membership benefits by entering the redemption code
Wallet->Balance:
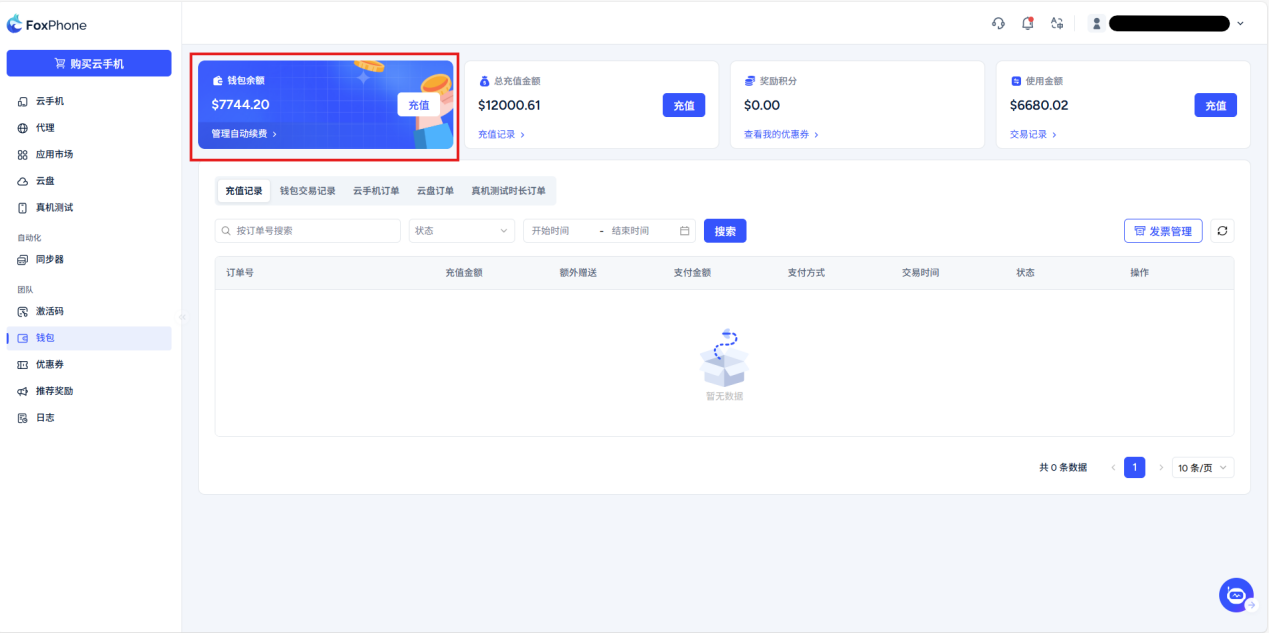
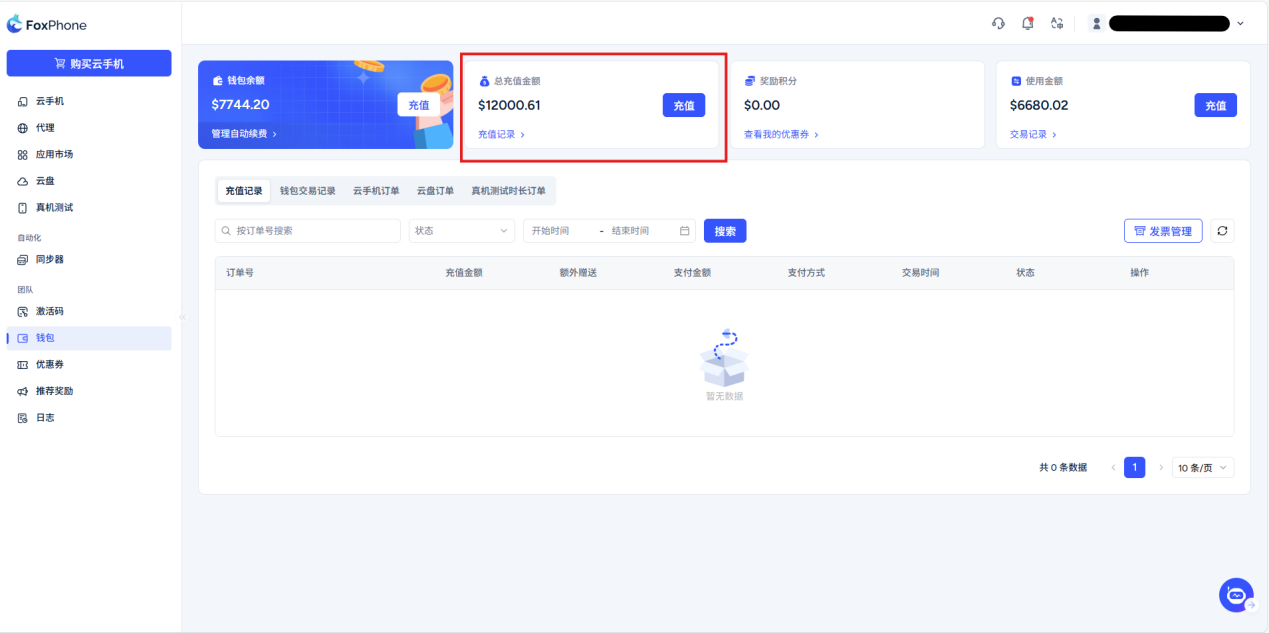
Wallet->Total recharge amount:Total recharge amount
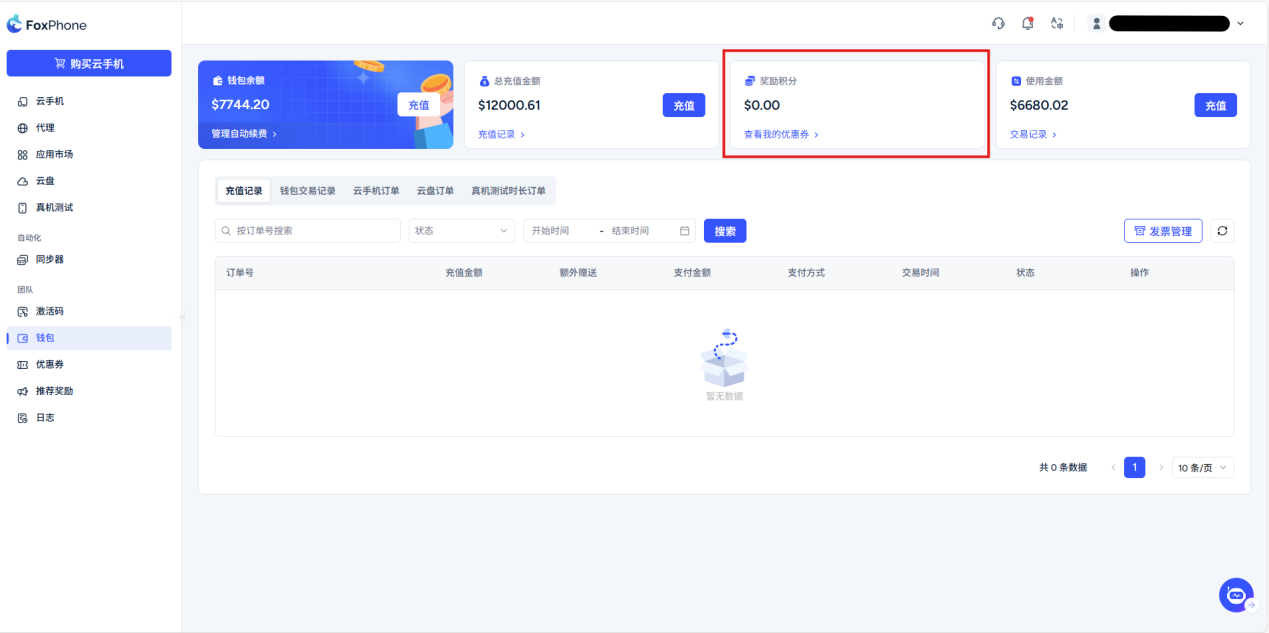
Wallet->Commission:Commissions earned by inviting others will also be displayed here
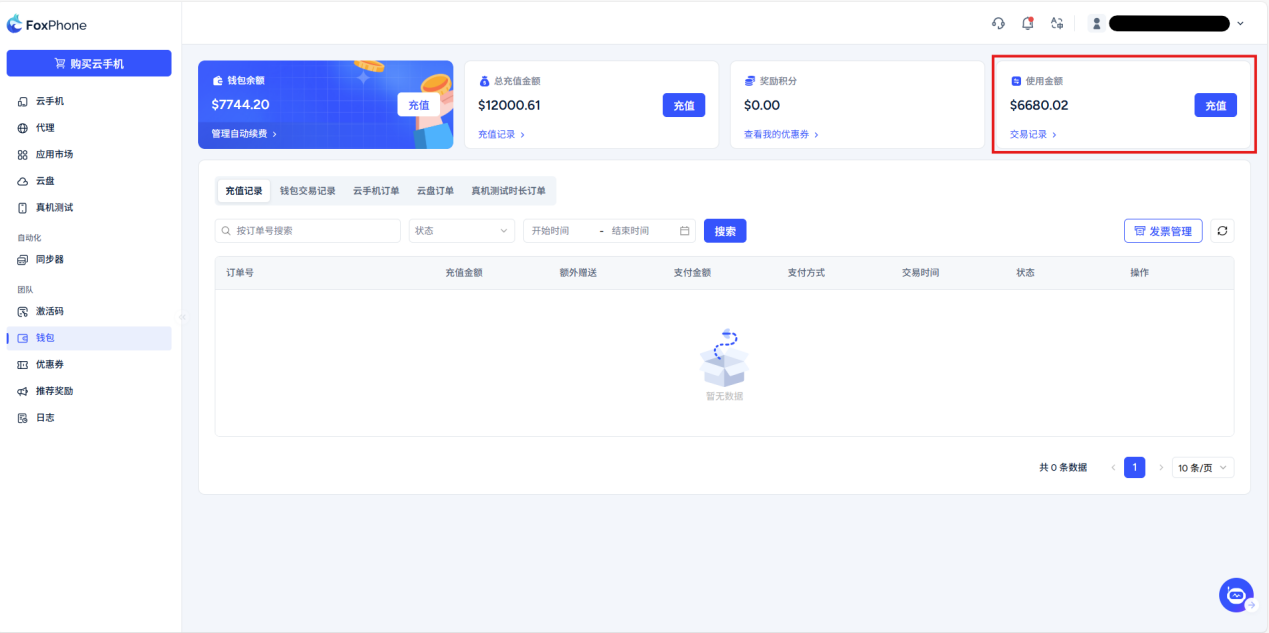
Wallet->Total amount used:The total amount spent will be displayed here
Need to pay attention to:
1. Each activation code can only be used once.
2. This activation code redemption platform can be used to redeem FoxPhone cloud services and membership rights. After entering the code and viewing the results, you need to manually confirm the redemption corresponding benefits.
3. For problems caused by activation codes obtained through unofficial channels, FoxPhone Cloud is not responsible.
4. FoxPhone Cloud reserves the right of final interpretation of the activation code function.
5. If the activation code is not redeemed within 90 days, it will automatically expire. Please redeem in time to avoid expiration, FoxPhone Cloud assumes no responsibility for expired activation codes.
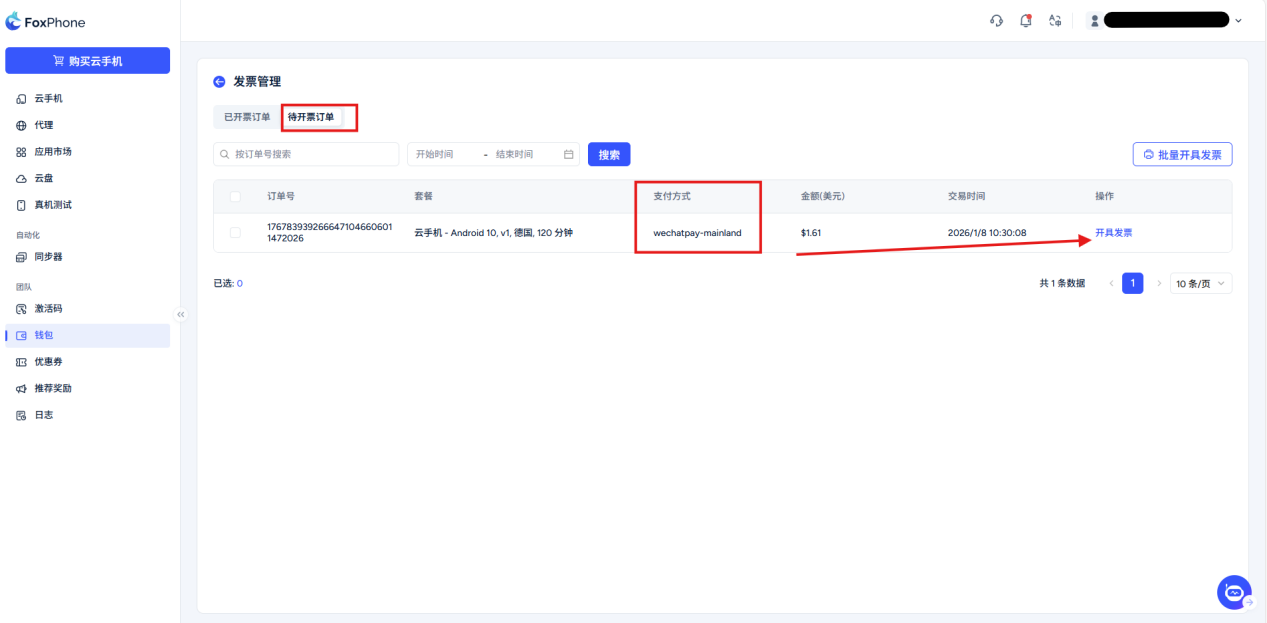
Wallet->Invoice Management: Issue invoices for your orders
Various types of order and consumption records will be displayed here. You can choose to view:
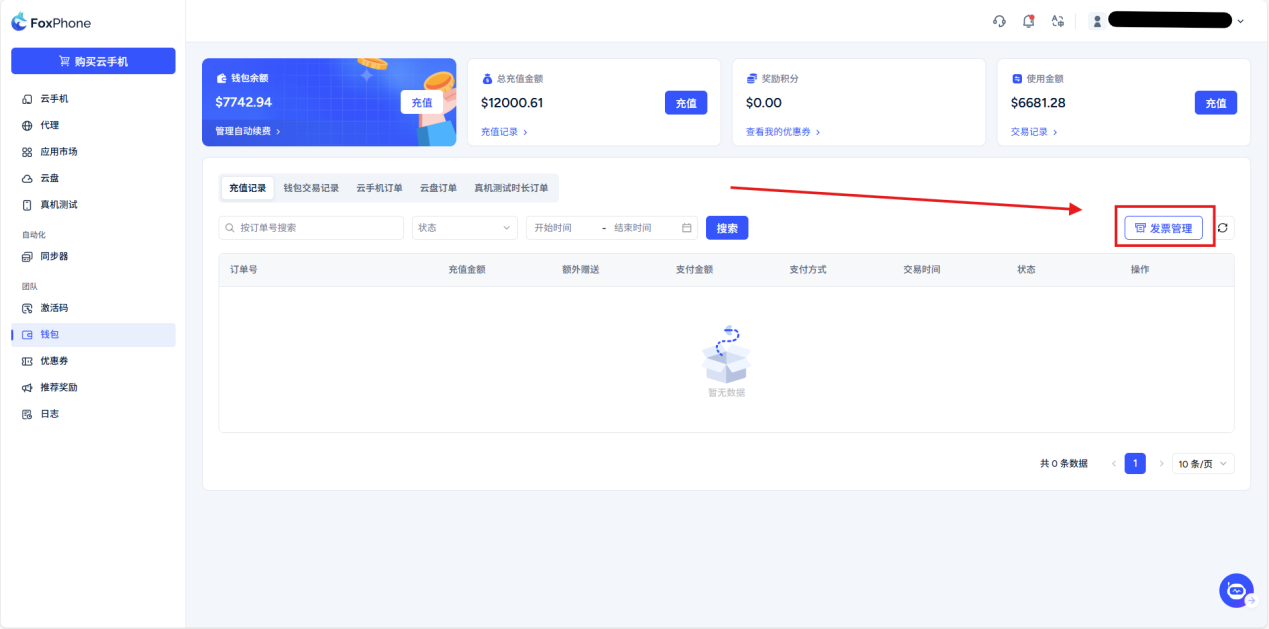
For orders with payment methods other than wallet balance, you can choose to issue an invoice in the order to be issued, or you can use the batch invoice button in the upper right corner to perform batch operations.
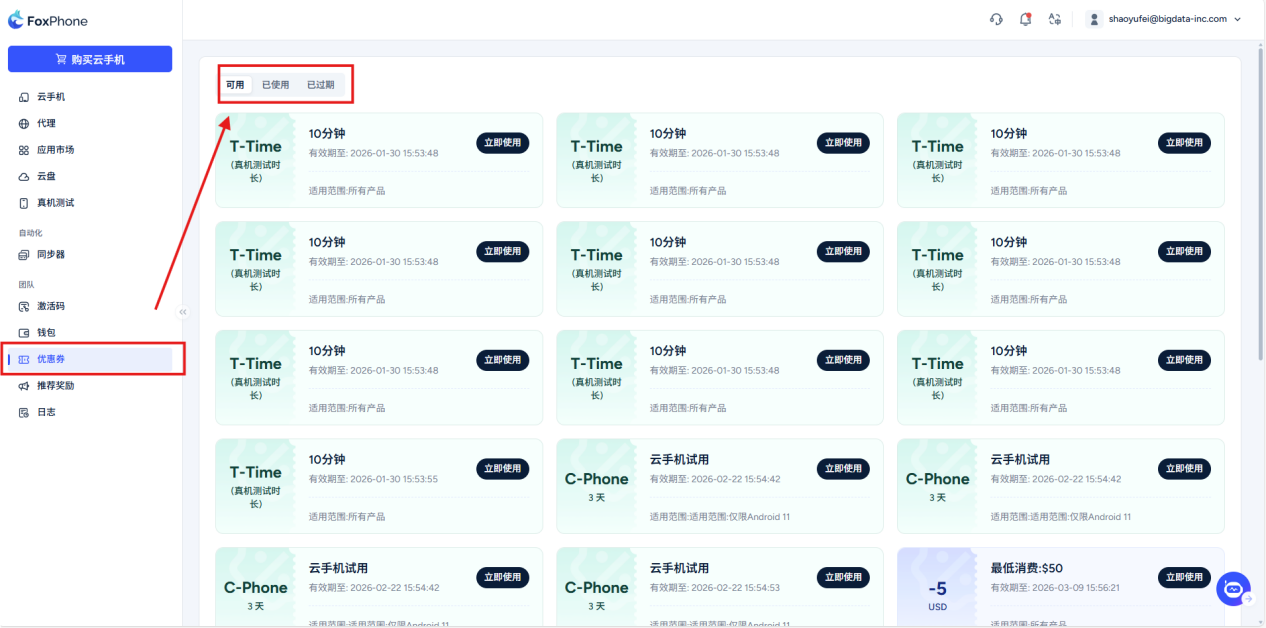
Coupon: Select the coupon interface to see the currently available/used/expired coupons
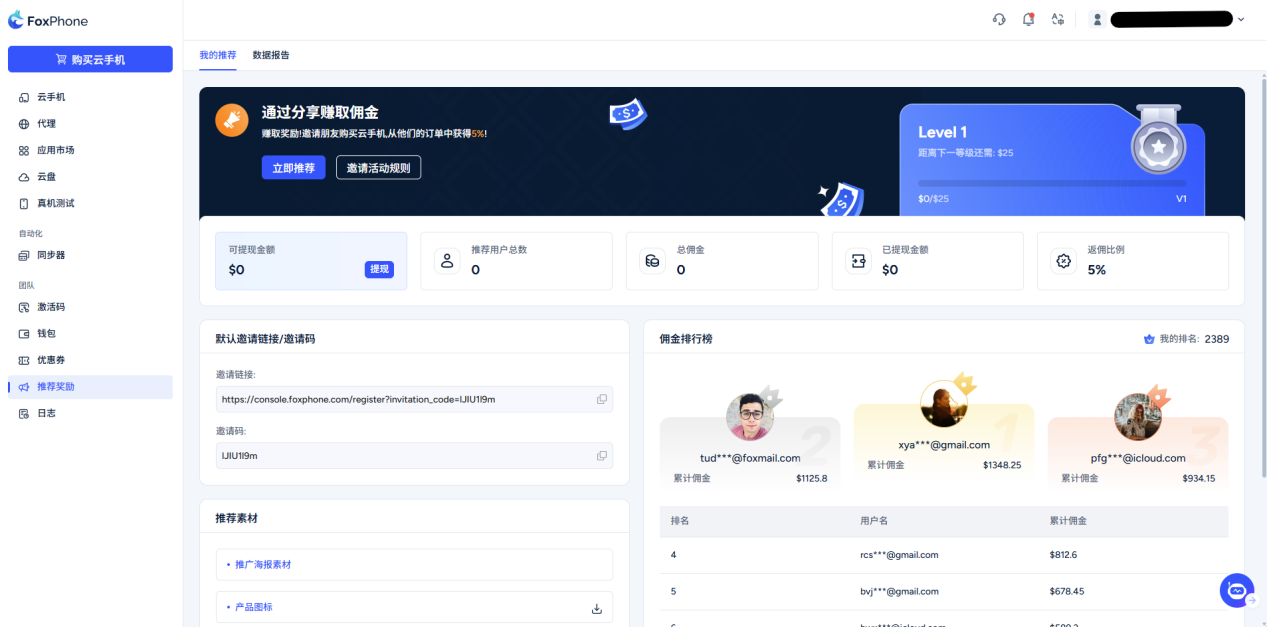
Share rebate program: When you complete the account registration, the system will automatically generate a promotion link and promotion code on this interface. Users who register and purchase cloud phones through your sharing link or code will receive a 5% rebate commission on the invited user's order. You can check and withdraw rebates on this interface.
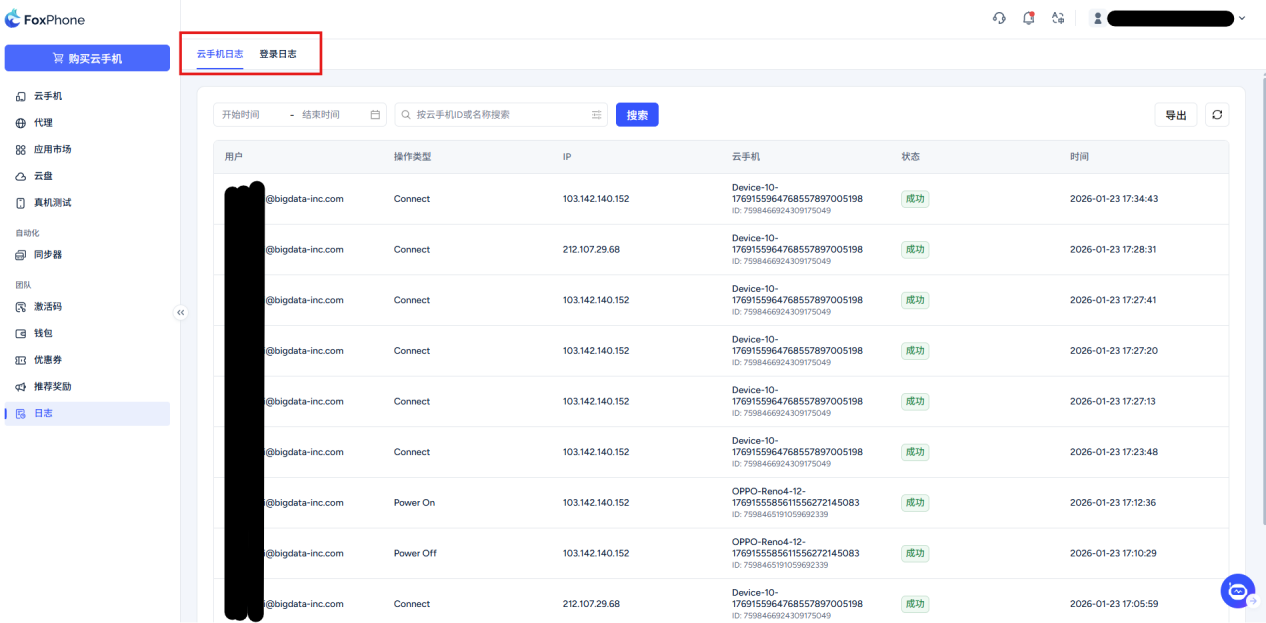
log: You can check the operation logs of all cloud phones on this interface, including the login and logout status of the account.
© 2026 Foxphone LLC. All rights reserved.


